
 Contact Us
Magnets, Force, and Motion
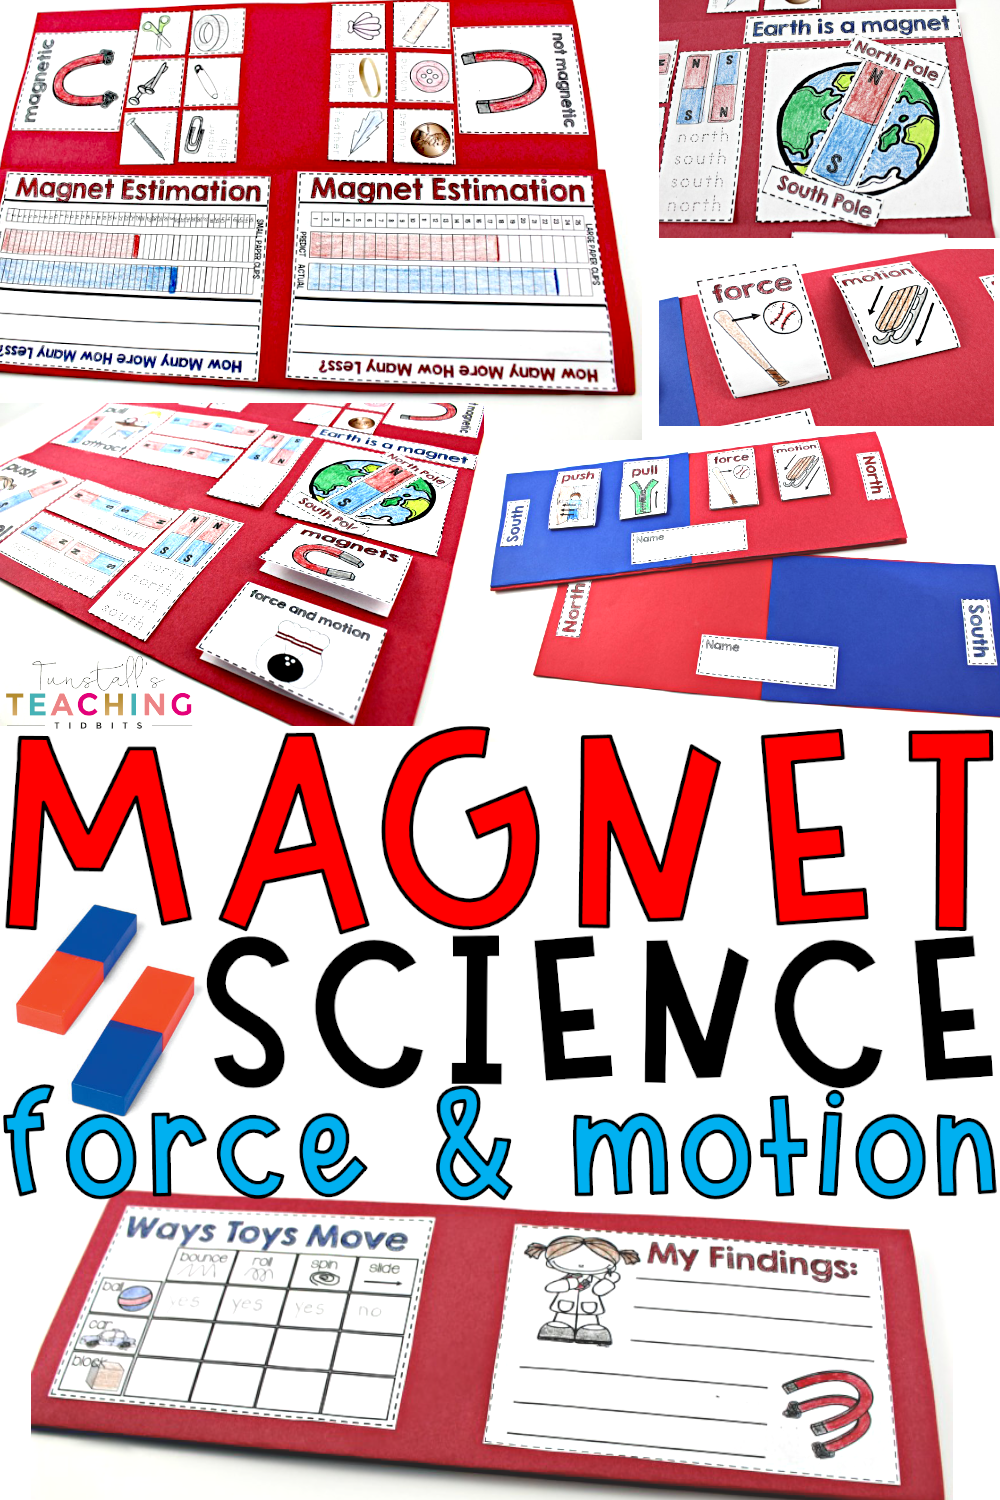

It’s time to teach magnets, force, and motion! Keep your hands-on science experiments in this keepsake bar magnet science book, or add them to your science notebook! The goal for these activities is to create “labs” that allow students to work through the scientific process naturally discovering the standards through positive learning experiences! Take a look at the different hands on “labs” your students will get to do!

Create the Bar Magnet
Before we read any books, or watch any videos, we want to explore our topic of magnets. I found that beginning these hands-on activities without providing any front loaded knowledge created the perfect awe-inducing experience! First I have my students create the cover of the keepsake bar magnet book. If you are working from a science journal you can have them draw the bar magnet and label it north and south with the included labels.

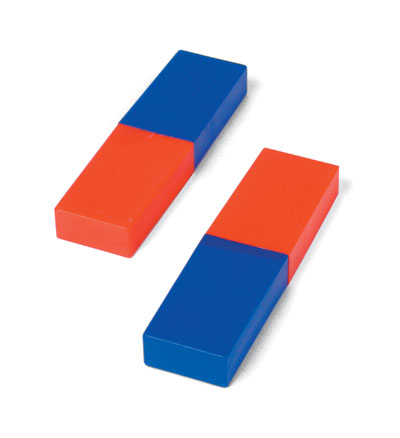 You’ll want at least one pair of bar magnets to use under the document camera. If you plan to have these experiments set up at rotations or different labs around the room, you may want to get 4 sets. This affiliate link will direct you to amazon where I purchased my bar magnets.

Repel and Attract
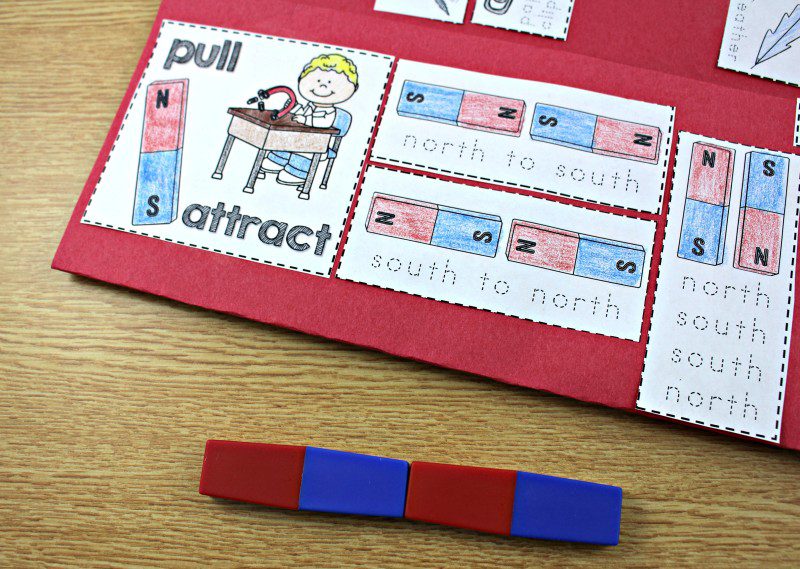
The first learning experience I like to do teaches students repel and attract. Either under the document camera, or in rotations students will color, cut, and trace the bar magnet diagrams. Next they will predict that a particular diagram will repel or will attract. They lay the paper next to their prediction, and then we test with the bar magnets to see what actually happens.
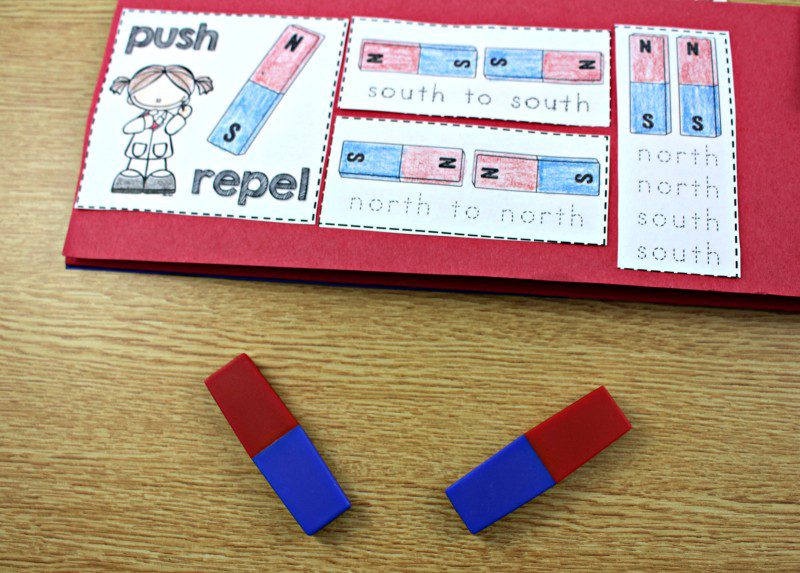
This is when students react and discover the old saying “opposites attract”. They love when two sides repel!

Students continue to predict and test each diagram until they have them all sorted and glued correctly.


If you are able to borrow from an upper grade science teacher, these are the tools that you will find very helpful to have during this little unit of study! You can use this affiliate link to find these tools on amazon. They aren’t too expensive thankfully! I bought them on my own a couple of years ago.

Magnetic or Not Magnetic
The next “lab” has the students predict and test a baggie of random items. (check your junk drawer to find 80% of these items). I made up little baggies of these items for this experiment. Students predicted and placed the objects under the headings magnetic and not magnetic. Then one at a time they tested each item using the magnet wand. If the object performed as they believed it would, they glued it down. If it reacted differently, they moved it to the correct heading. The penny is the big surprise because copper does not attract to the magnet wand!


Magnets Force and Motion Books
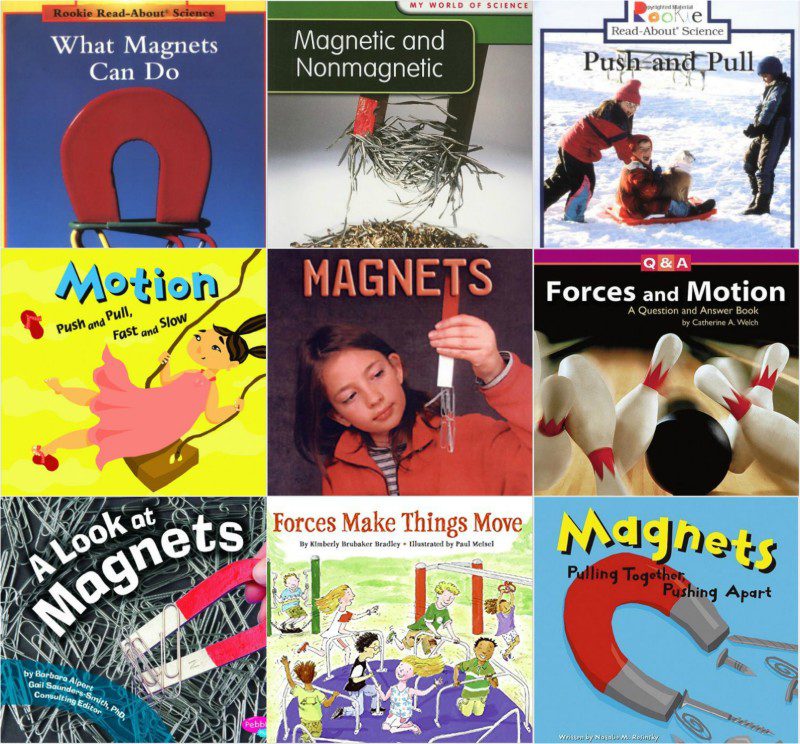
Once these two experiments have been completed, we begin studying these concepts more in depth. Students are forming stronger understandings as they interact with the magnets. It is time to back it up with focused facts and vocabulary! These are the books in my magnets force and motion tub. I got them on amazon here. (affiliate link)

How Objects Move
One of our favorite “labs” is categorizing how things move. We test non-standard tools to see how they move. Students work through the grid trying each type of motion.


Tip: Let students use a whiteboard or a book as a ramp for roll and slide. They simply release the item at the top of the little ramp. It is important to explain that we are not putting much force on our objects. We want to see how they move naturally. If you put enough force on a car, it would slide (for example hitting the brakes at a high speed) but naturally, it does not slide, it rolls on wheels. These types of discussions are brought on by these experiments. They are wonderful inquiries!


Graphing with Magnets
Of course, we always want to add in math and writing to our studies whenever possible! In this lab, students predict and test how many small (and large on a separate graph) paperclips the magnetic wand will pick up as it is swiped across the top of the pile.

Tip: Model and enforce that students swipe about an inch above the pile. Otherwise, the wand will pick up all of the paper clips!

There are two of these experiments. One is for large paper clips, and one is for small paperclips.

Vocabulary
Once students have become comfortable in these experiments we go back to our experiences and our books to record the definition of keywords such as force, motion, push, and pull. Using our tub of books combined with our experiences helps us create an agreed upon definition to write under the flap.


The Compass and Earth
I like to bring out toy compasses (aff) and relate our learning to how the earth behaves like a large magnet with a north and south pole.


Science Units
If you would like to do these activities in your classroom, you can grab this unit here on Teachers Pay Teachers!

If you are looking to make science and social studies note-booking a bigger part of your curriculum, here are all 12 units together in a discounted bundle.

Thank you for this post! I used this pack last year, and I loved it but I felt like I could have taught the concepts better. So I loved reading how you lay it out in your classroom! I own all but two of these interactive books so far, and the only reason I don’t own those two is because I had finished those lessons before I saw your packets! 🙂 Thank you.