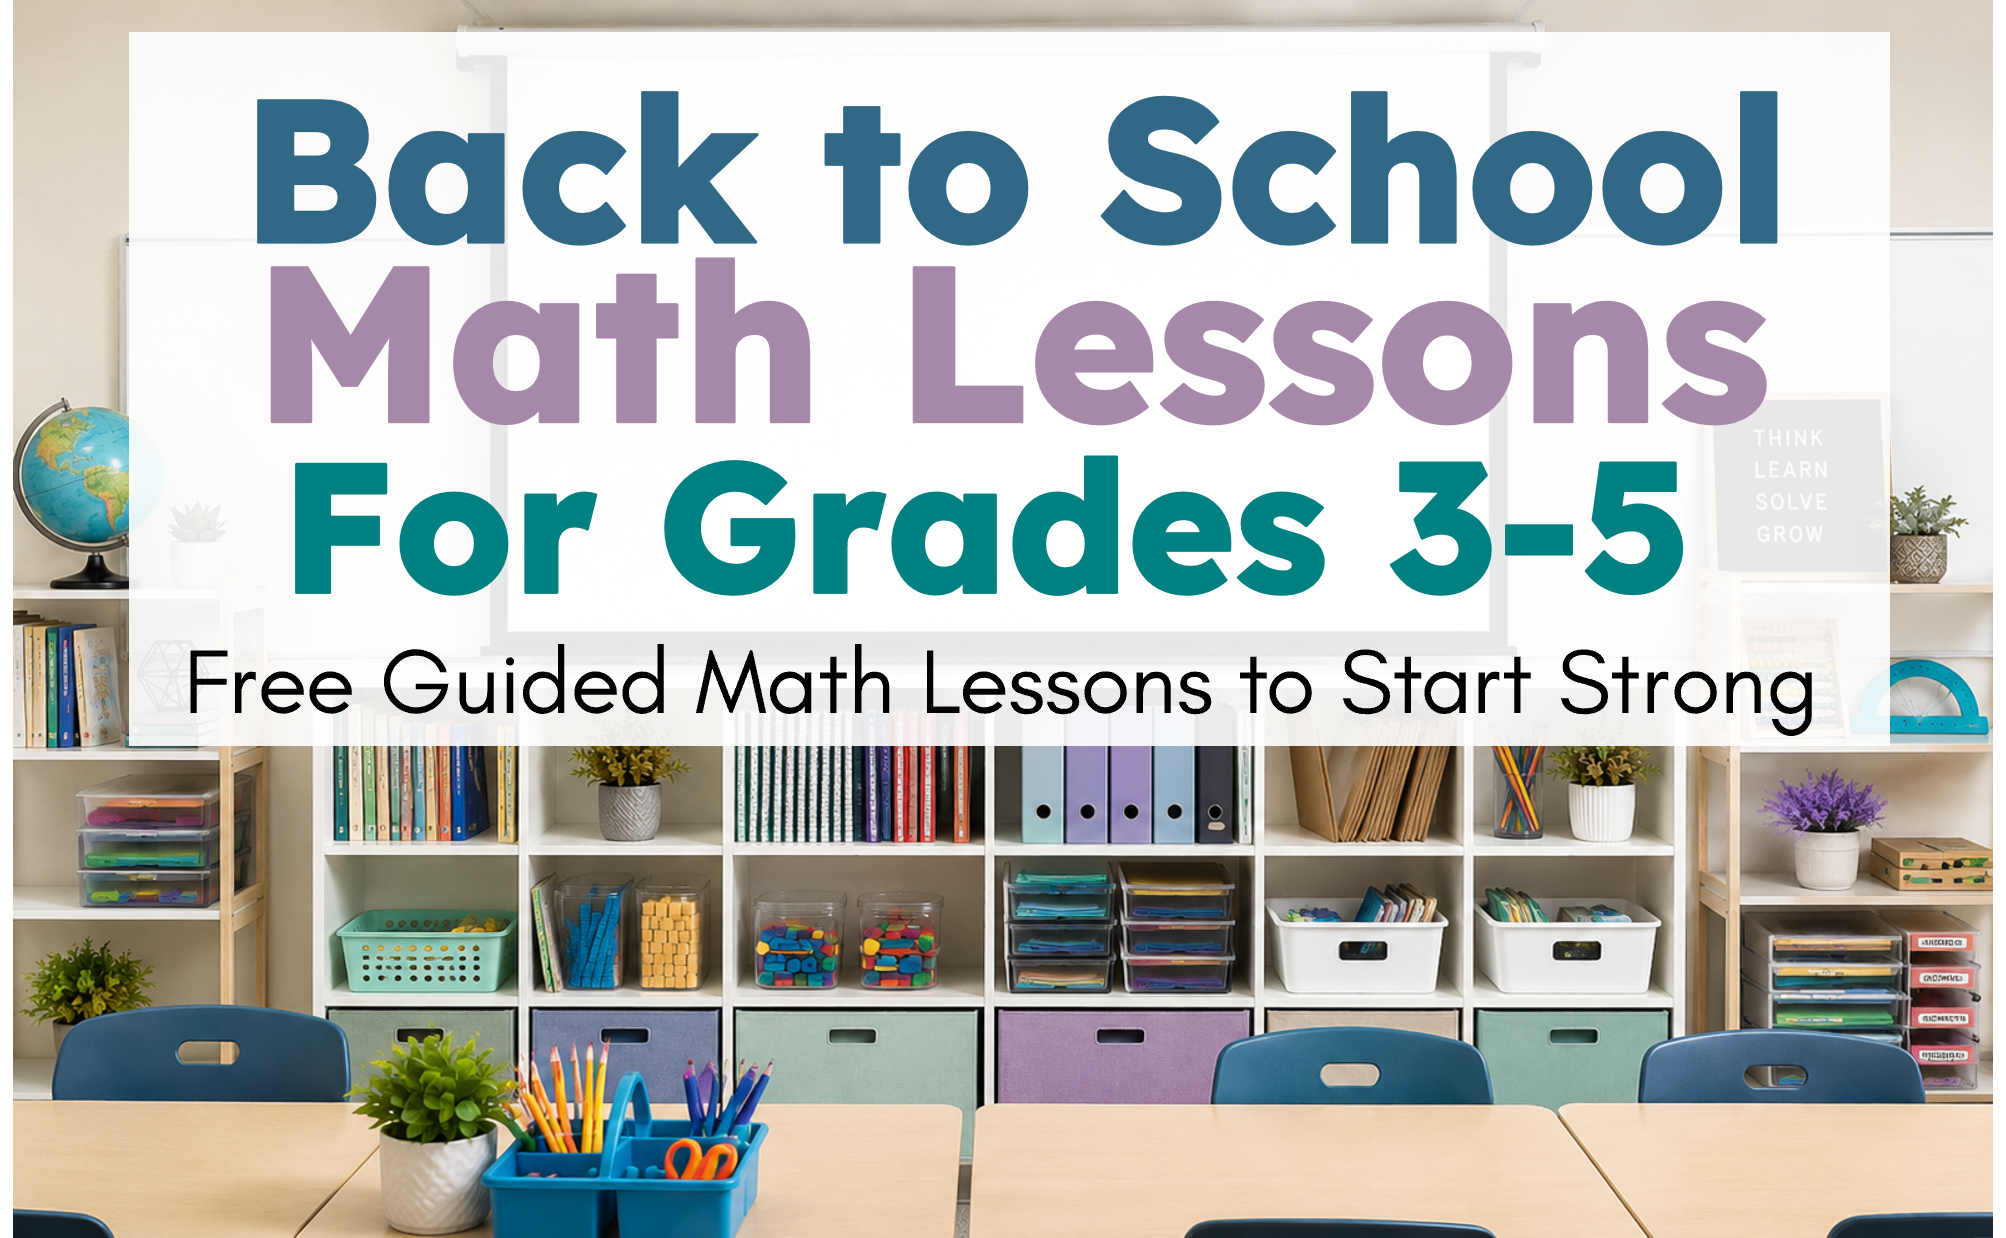
Ways to Socially Distance Small Groups and Centers
As we face our new school year a question on both parent and teachers’ minds is how students will safely work in their classrooms. Will they be stuck in a desk all day doing worksheets? We have come so far in student engagement. The idea of going back to traditional rows of students stuck in their chairs all day is disheartening. This post will address how to socially distance small groups and centers. Everything I share in this post can be found at Walmart, the Dollar Store, or on Amazon, but it’s likely you already have these things lurking in your cabinets!
Centers Done Safely
I have spent a considerable amount of time thinking through how to keep centers a stronghold in the classroom while also ensuring student safety. So much of workstations is about management. Students knowing the consistent structure of this part of the learning and their role within that structure. The bulk of the work will be in planning and establishing the system to which we will run the workstation time. Let’s talk about systems.
Safely Establish Student Location and Freedom of Space
When I set up my classroom, I do it with workstations in mind. The placement of every piece of furniture is based on how we will move within the classroom, access materials, and carry out workstations. It’s the time of day when most physical space and materials are utilized, so it should be the highest priority when considering classroom layout. Some things to consider is your teacher position during this time. I typically place my area of working with students in a corner or centered on a back wall so can face all areas of the room easily monitoring student progress. As we layer on the idea of keeping materials and surfaces from being touched and shared, we have to consider how to safely monitor.
The Desk as a Cave and Home Base
Desks 6 feet apart will take up a lot of space yet it’s likely we will see this arrangement most frequently used in classrooms with desks. Let’s consider this as we creatively use the student desk for workstation time. For written workstations, we can utilize the top of the desk as we traditionally do, but certain rounds could be done in the cave of the desk (underneath) with students enjoying being on their tummies or sitting criss-cross depending on age, height, and preference.
A second desk location: students can use a desk leg to lean on like the back of a chair as they sit on the floor. This allows them to sit on the floor while ensuring their bodies remain against the desk. This ensures they are still 6 feet from any classmates. They get a break from the chair but are safely working on the floor and experiencing a new view. Changing up the chair is a third way to create a new experience from the same place in the room. Rotating some fun options for sitting can be an easy way to bring change to the mundane.
Optimize the Perimeter
Along the same line of thinking with how to most effectively use the space to safely spread out desks and tables, there’s the notion of creating safe spaces and groups in strategic places along the perimeter and corners of the room. One way to do this is to create safe zones that would be sanitized each day. Designating special out of the way areas for center space that students get to be in for the day. Designating a space for a workstation can be done with small colored cones or even using blue painter’s tape to mark out areas. These are things that can be easily wiped and sprayed for cleaning each day.
Students can bring their workstation activity to the designated area to work with the use of plastic bins, trays, or buckets. This ensures their materials remain with them and not around the room to be shared.
Socially Distanced Small Group Setting
Here are some creative ways we can conduct a small group when we may need to creatively target students from a distance. In the diagram below, students could remain in a 4 pod safely at their desks with the teacher instructing from the center of the group or from the side depending on how the room was arranged. In this way, the focus is still on these four students for targeted instruction.
Plexiglass is a popular option for creating a safe space in close quarters. I have seen some very creative teachers using plexiglass to create a small group area or to transform a regular table into a socially distanced work area. This photo below was shared by one of my teacher friends, Fredrick Herrera.
If you don’t have the time, energy, or money for investing in plexiglass, here’s a cheap and easy option of foam board. You can grab this at your local Walmart or similar store and some clear packing tape or binder clips can make a quick corral so students can group safely! I have used foam board to separate my computers too. This way students have a privacy fence there too!
I know rugs are iffy and potentially not being used this year, but for those who are able to have them, I have long used the 4 corner rule to keep students together but apart. You can conduct a small group with this structure in place easily! This could also be how students can work together but apart for a workstation too.
The Mayhem of Sharing Materials During a Pandemic
Now let’s discuss how we can safely use all the workstations and centers we have spent hours prepping! The truth is that materials will need to be sprayed and wiped down. It’s just going to be a new facet to classroom life, but here are some ideas on how to have students access materials without sharing them. I think this is what we tend to think of when we think about how to socially distance small groups and centers.
Student Materials
The biggest change will be that students will have designated ways to access materials and will not be able to share those materials as a community as we have done in the past. For community supplies turned personal, the cheapest would be using Ziploc baggies where they have a designated personal bag of materials. Below are math tools baggies ready to go for a class. These are so students can reference the math tools they will need during workstations.
Another cheap way to keep materials from being shared is to have a centers materials Ziploc for each student like the one below. This could also go in a pencil box too but I have so many Ziplocs, it’s a cheaper option. The color-coding is not necessary, but I can’t resist. I have seen teachers using zipper bags, pencil boxes, and cloth pouches for these too. Personally I think Ziplocs make wiping down and seeing what needs refilling easiest.
Below you can see how a student would take their materials bag to a safe spot to work in their journal.
Here’s another bag being used at a hands-on station
Workstation Materials
When it is time to have students use workstation materials there are tons of options! Likely you have a workstation system using a tray, tub, bin, bucket, or box. Rather than students going to a community tub of stations, now they will have their own station for a designated time. Personally, I would do personal trays for the day, but Ziplocs would also be cheap and easy! The bags and materials get wiped and sprayed and then the next day students have a different bag to use. To keep a system of who has done which station, I would number the trays, boxes, or bins for the number of students in the room, just like I do for their book boxes. It’s the same concept. This is my box or tray and each day I will have something in here to do during workstation time.
Write and Wipe Centers and sleeves are a fantastic and easy way to run centers since they don’t require as many parts and pieces to be cleaned each day.
These trays are great because they can wipe easily and stack for saving space. The stations you see in these trays and bins are from my Stations by Standards line of workstations for K-3.
The trays are from Amazon. The bins are from a dollar store.
Disposable Manipulatives
I love math manipulatives like I love my own children, but the idea of conducting small groups means that I’ll want students to use manipulatives in my groups and I want to see multiple groups in a day. I don’t want to be tethered to the Clorox wipes because I use every minute of small group as it is. So for that reason, cheap household items can fill in for quick use to be thrown out if needed between groups. There will be times when it costs more to sanitize items than it does to just use a bag of beans for a week throwing them out after we use them. If students only need 30 beans each, I can really use these for a long time!
Some ideas for disposable manipulatives: rocks, leaves, cereal pieces, dried beans, art supplies stored away in the cupboard, toiletry items buried in the back of the cupboard, etc.
These simple items make great place value manipulatives.
These toothpicks were saved for a potential art project but how darn cute are they as cacti counters? And those colored poms of which I have two thousand? They could be blooms on a cactus too!
Smart Choices
No matter how this all “pans” out, (see what I did there? ahem…pandemic) the most important thing is to create a system that works for you and your students. Choose what activities students will do for workstations that eliminates the need for students to all be at a hands-on activity for every station. A few years back, I created a system called Math STACK which I have used and shared since. It’s a way to build a well-rounded math experience but keep chaos to a minimum. As I look at the rotations or workstations required in Math STACK, I can easily see how these would work in a socially distanced classroom. Let’s take a look!
Math STACK Socially Distanced
STACK is the acronym for what my students do in their math rotations. As you look at this picture below picture how and where the stations would go in your room. S is for a teacher-led small group. This is where I would find a safe way to conduct a group. T is for technology. Students use a device to do a math activity. A is the application station. This is where students apply their learning in an independent practice page. You can see the skill page below for that. C is to create math. This is done in the math journal. And finally, K is for kinesthetic math. The traditional hands-on math activity is shown here in a write and wipe sleeve. Students would rotate through these activities below as well as meet with me in a modified small group.
Related Posts You May Enjoy
I have a few related posts I think are timely! First, there are the First Week Favorites which is all about setting up for success! Find that HERE.
Next, I have blog posts about how I run Math STACK which could now be read as you modify for social distancing. As well as how I run LEARN to read in the same way for my reading stations!
If you end up teaching virtually, or you have a virtual teaching partner, here are some posts that may help. Click the pictures to read more.
Blessings to you and your students on a new school year!

Leave a Reply